CRUNCH TIME
A Crackling Good Quest: The Make it Snappy Edition

We’re on a mission at TGIFood to absolutely nail pork crackling. Here’s the current state of play, with lots of tips for anyone planning a pork loin or belly roast this weekend.
Oil or butter? Or both – or neither? Salt, or not? How about liquids – how do you get the meat of a pork joint succulent and cooked through yet also end up with perfectly crisp rind, that wondrous thing that every pork lover craves: the perfect pork crackling?
Caroline Conran, and it’s wise to consult very English cooks on this subject, urges us, when roasting a loin of pork, to rub the crackling with a little butter (“don’t sprinkle it with salt, as this will toughen the crackling”), then roast at 220℃ for 10 to 15 minutes, then reduce to 190℃ for 20 minutes per 500℃ plus another 20 minutes. “Don’t,” she instructs, “baste the crackling, just let it cook and it will be crisp and delicious.”
Marco Pierre White, aka my food hero, massages sunflower oil into the rind for what he calls a method that is “no fuss, straightforward, guaranteed every time” adding, “without the oil the crackling is never as golden, never as crispy”. But we’ve all done that and sometimes been successful, at other times failed. Then he salts it (“not too much salt”) and pours a little water into the bottom of the roasting tray, places the belly on a rack above it, and roasts for 1½ to 2 hours on the bottom shelf (we’ll come back to that) at 160℃. “Your crackling should be golden brown, perfect.”
Delia Smith, for a pork loin, scores, salts, and roasts at 240℃ for 25 minutes, then turns the heat down to 190℃ and cooks for 35 minutes “to the pound” (about 450 g), minus the original 25 minutes of cooking time.
Basically, nobody here is on the same page, right? So best we try to work it out for ourselves. Felicity Cloake, in The Guardian, concurs: “Sadly, this (scoring) is where the happy crackling consensus breaks down. Post-scoring, everyone goes their own separate ways in search of the porcine holy grail.” She found herself “unable to find even two recipes which agreed exactly on what to do and when”.
So, let’s work it out for ourselves and, if we can finally pull it off, perhaps have that lot coming to us to see how it’s done. Maybe.
The mission is twofold: the crackling must be perfectly crisp, crunchy, not too hard to the bite, but not at all chewy. And, the meat must be cooked but succulent, not at all dry. Easy, right?
So here’s the state of play: I took a masterclass in perfect belly crackling with my science-minded son-in-law, Neal Derman, over Christmas and, though he got his right, I overcooked the meat when I tried it at home. So I’ve added a new step (or two) below. The key? Our method starts the evening before it’s to be cooked. Here’s how I cooked a pork belly this week. At the end, I’ll divulge the outcome (I don’t know yet, it’s still in the oven.)

(Photo: Louis Pieterse)
- The evening before you intend to cook it, pat a clean pork belly dry on all sides.
- Score the rind in strips using a very sharp knife, but do not penetrate the flesh.
- Salt all over.
- Let it stand uncovered at room temperature for half an hour. This will draw out liquids which you will see gather on the rind’s surface.
- Use wads of kitchen paper to mop up these juices. You’re removing liquid that would have come out during cooking.
- Place, uncovered, in a container in the fridge overnight.
- Preheat the oven to 240℃ with the rack you’re going to use as high as possible in the oven.
- Remove meat from the fridge an hour before you’re ready to cook it, to bring it to room temperature.
- Choose an oven dish which only just fits the pork belly. Grease the base with butter but not the rind.
- Put the meat in and pop it into the very hot oven to roast for 30 to 45 minutes. The rind should now be well on the way to crispiness.
- Remove from the oven, turn the heat down to 180℃, and transfer the meat to a separate dish so you can prepare the base of the oven dish for the second round of cooking.
- Peel 4 carrots and cut lengthwise into 4 strips. Cut 2 medium onions into quarters or 3 smaller ones into sixths. Place in the centre of the dish for the meat to sit on.
- Pour 500 ml apple juice into a saucepan and add 2 Tbsp soy sauce. Whisk in 1 heaped tsp English mustard and add 3 or 4 sprigs of thyme.
- Place the meat on top of the vegetables, piling the veg so that the meat sits evenly.
- Pour the cooking stock carefully around but don’t let the liquid come into contact with the rind. Don’t fill the dish higher than about 5 mm below the rind.
- Roast in the 170℃ oven for 90 minutes to 2 hours or until, when pierced with a skewer, the juices run clear, not pink.
- Turn the heat back up to 240℃. Now you need to use your eye to gauge how much more cooking it needs. You want the entire rind to be hard and blistered. Keep cooking until it is, all over, checking every few minutes. For me it took about 20 minutes, but ovens are different
- Strain the juices from the roasting dish into a pot or bowl, and let the juices settle until you can skim excess fat off the surface to discard.
- Either serve those pan juices as is or, if there’s still a lot of liquid, stir in 1 Tbsp of cornflour over a low heat while stirring until thickened.
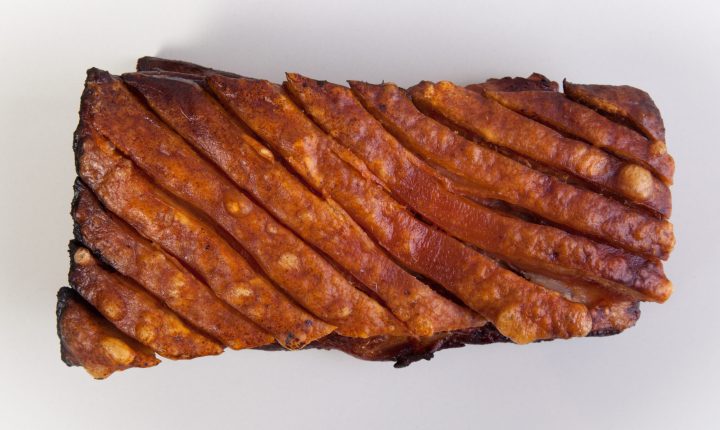
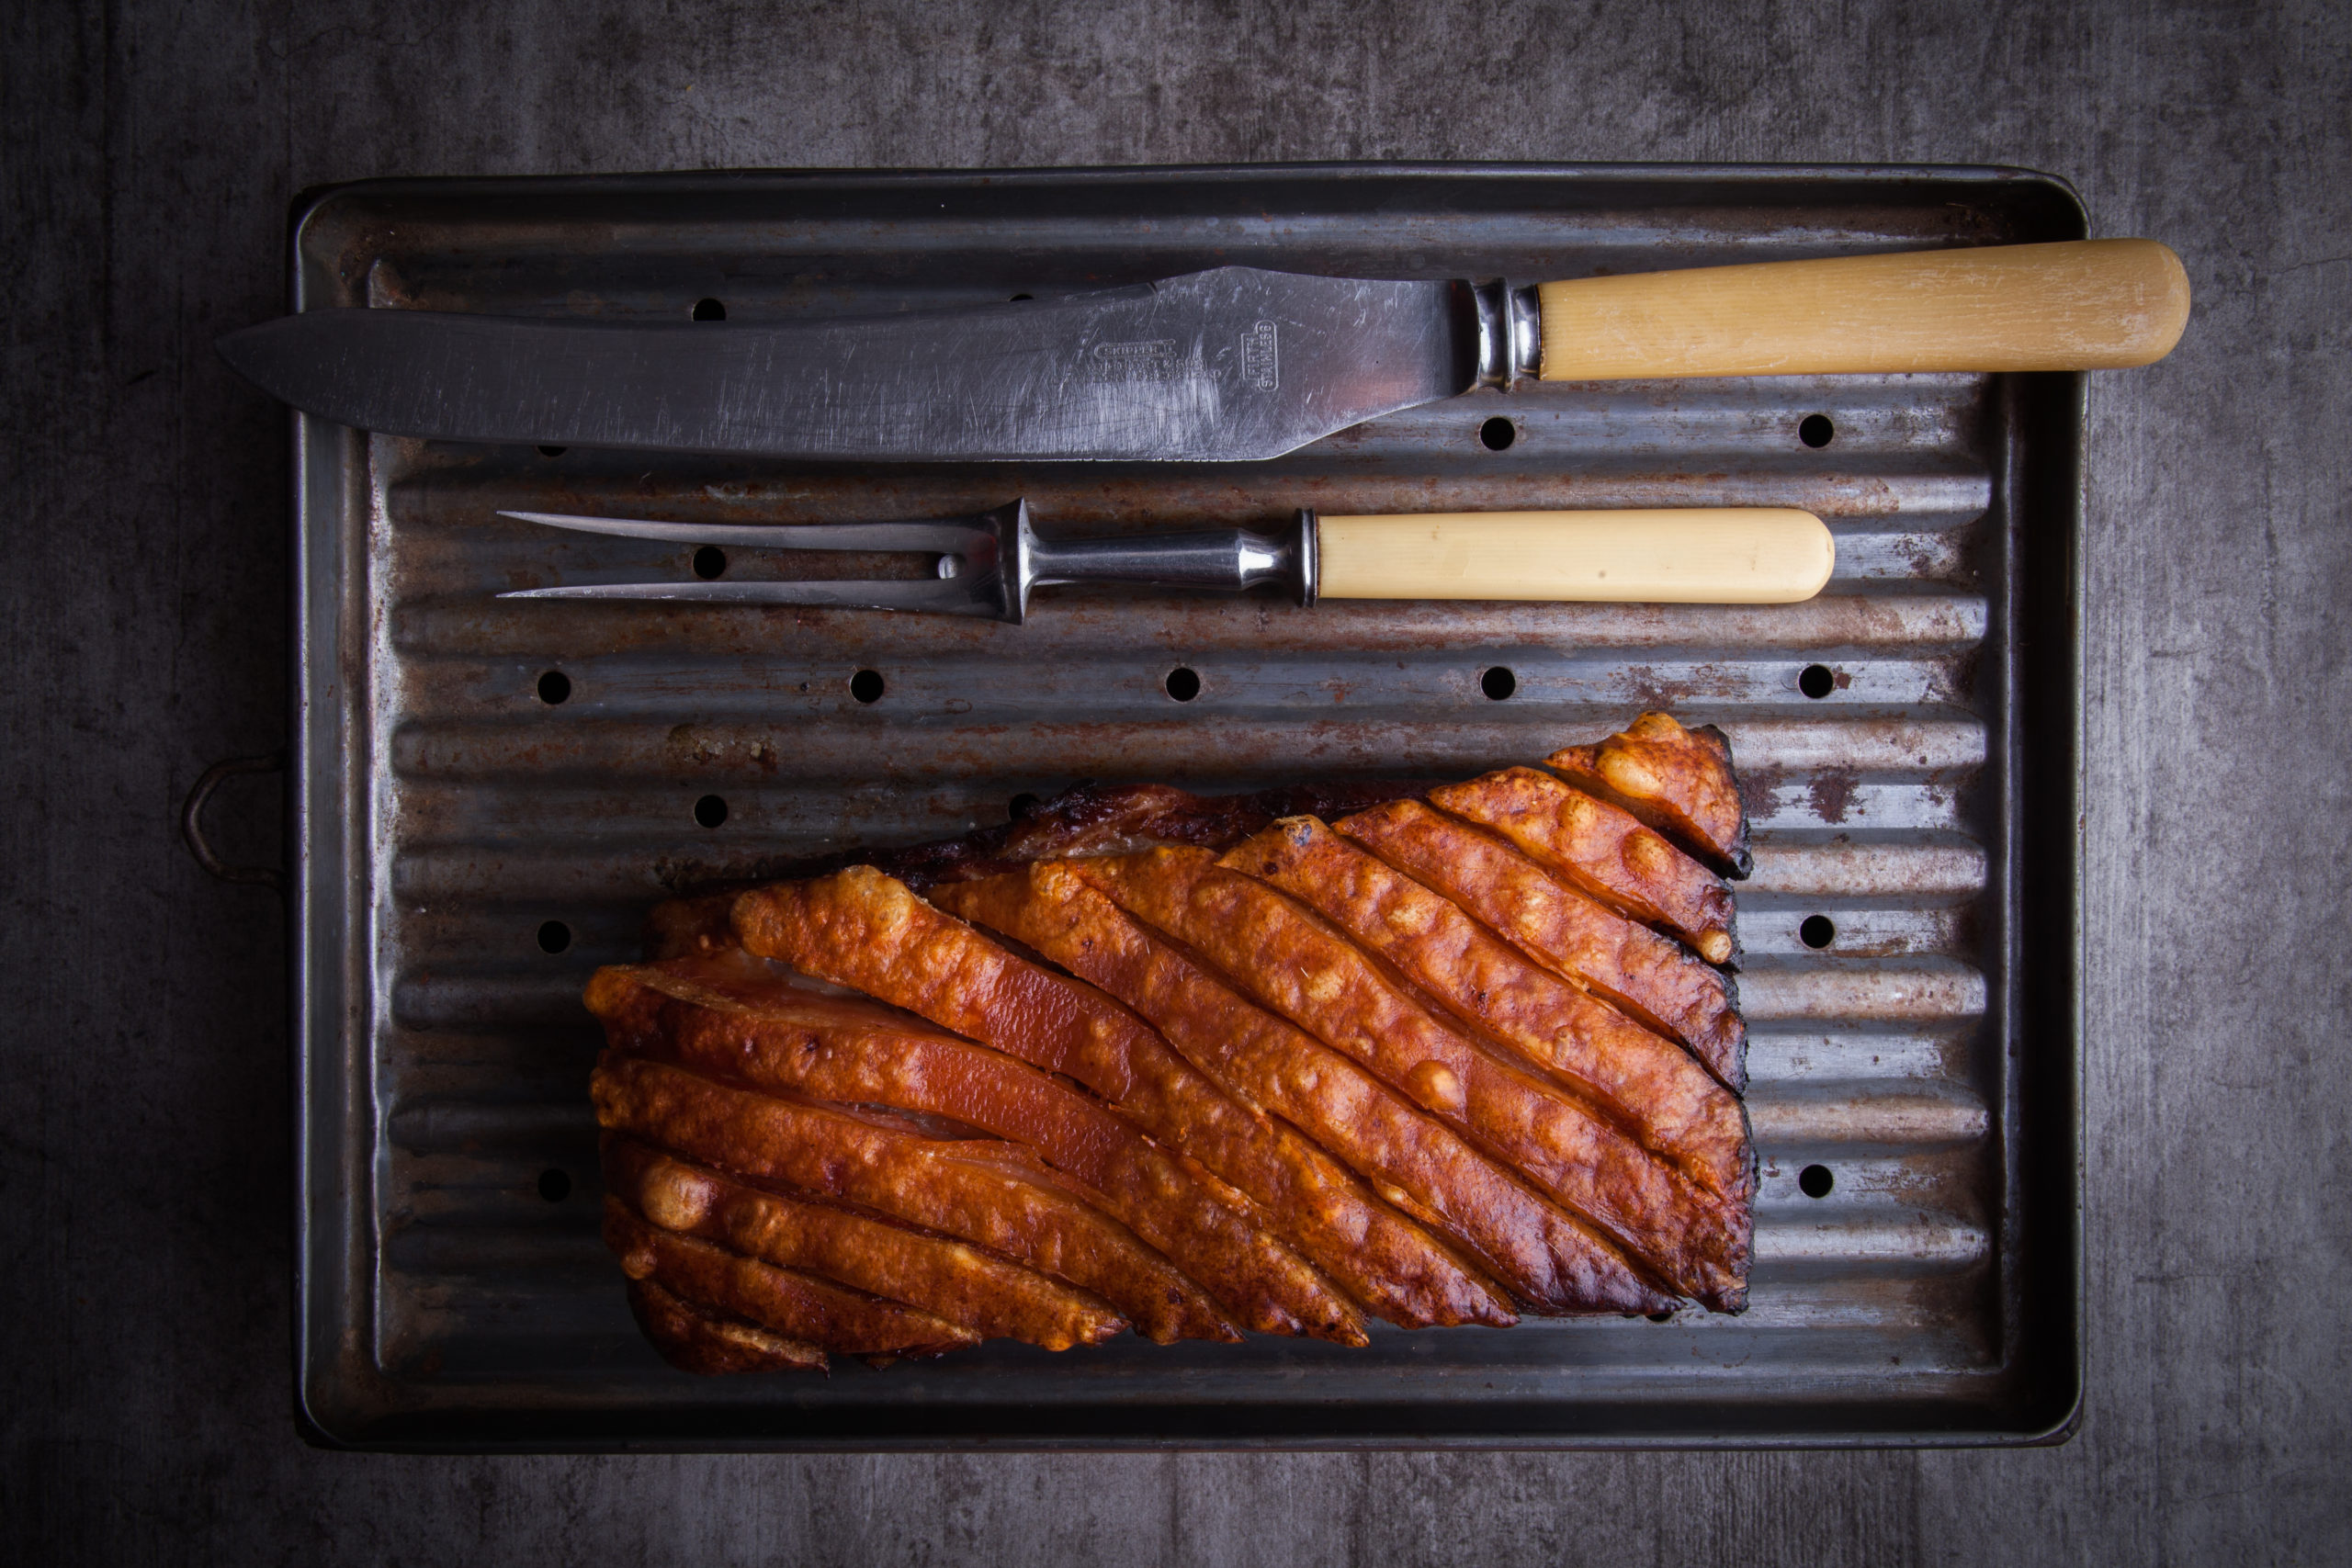
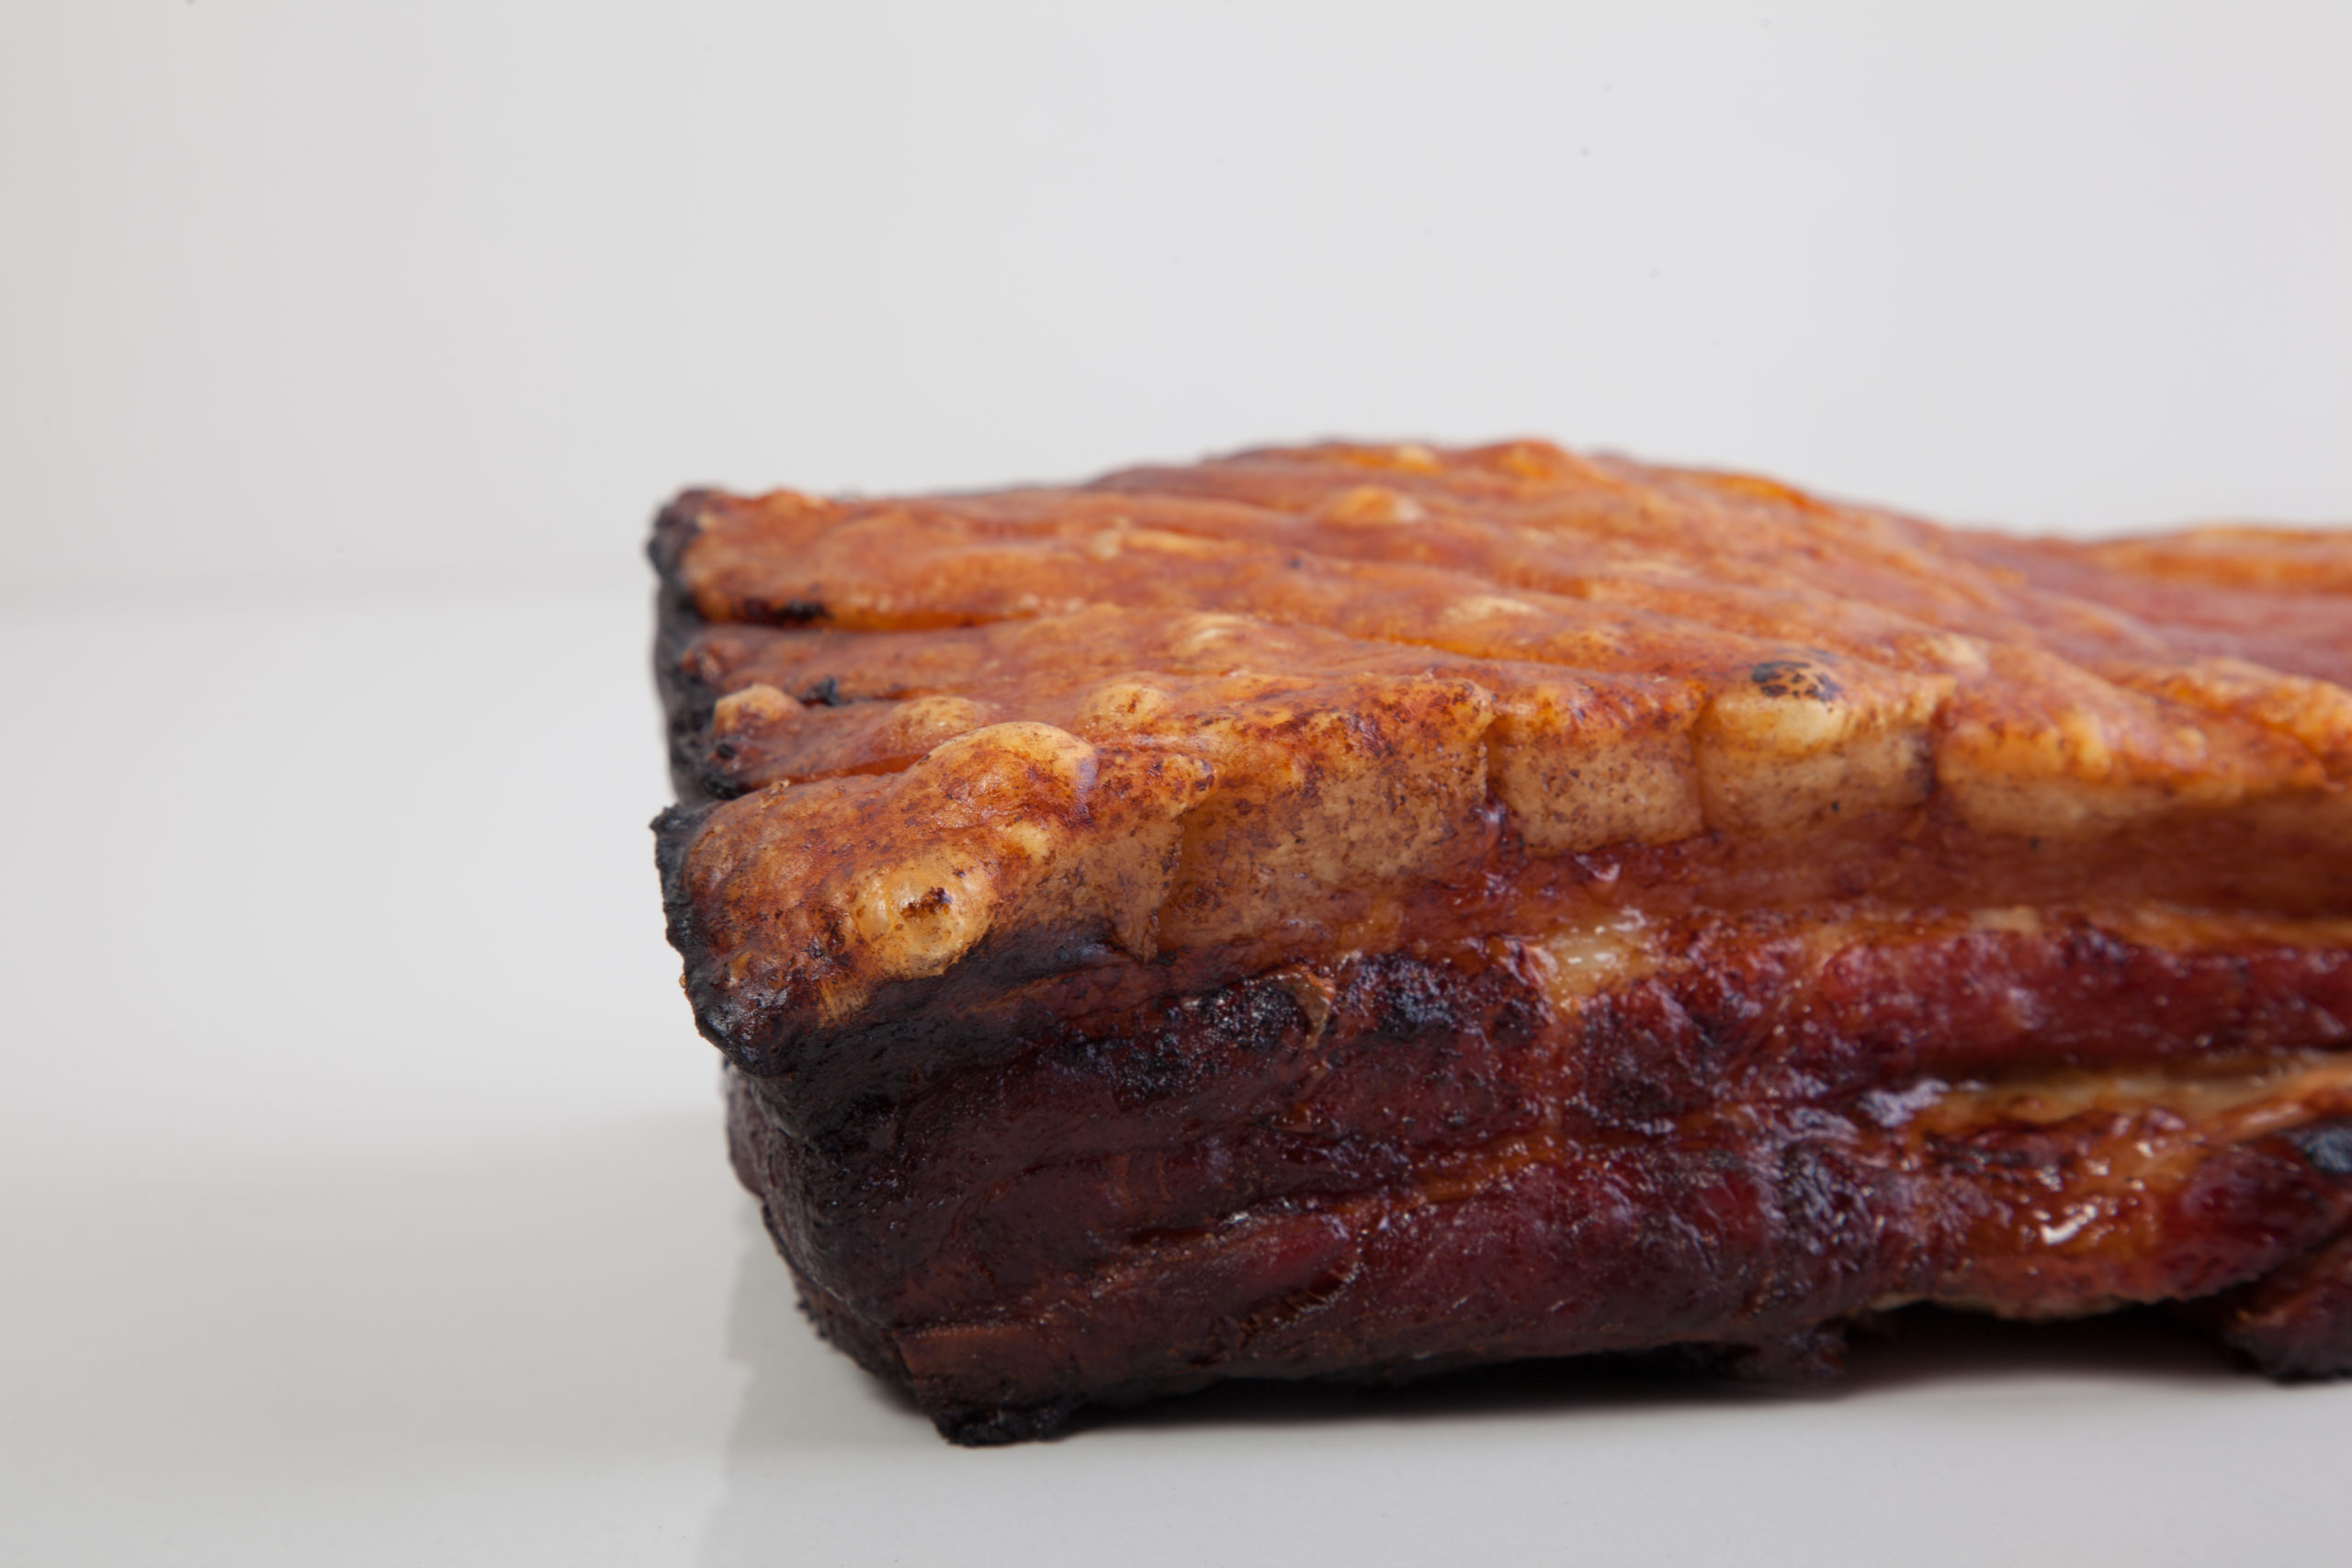
The verdict? The crackling was super crunchy, with a real snap to it, and the meat succulent. Result. Pretty chuffed, actually.
But wait, there’s more…

(Photo: Louis Pieterse)
Since this story was published in our DM168 print newspaper and following our first story on the topic, we have received tips from crackling-loving readers. Here’s what they tell us:
- I was brought up in the UK and my mother’s tip for her super crunchy pork crackling (well scored first in lines across the loin) was to turn up the oven very high at the end and sprinkle cold water on the crackling. I also used to do that when I was cooking for the family and it works. I’m not sure if she salted it. You just watch till it’s ready. (Heather Davies, Lakeside, Western Cape)
- Cut the rind with a Stanley knife. It’s so easy. I put my meat in the fridge, rind side up, to rid it of moisture for four days. Cover flesh if it starts drying out. Before cooking, remove and lightly rub with oil and gently salt. Do not leave it standing out as the skin will absorb moisture again. Cook at high temp then reduce as directed. The best pork belly I have ever eaten was at a restaurant called Flavours at Ramsgate, KZN. (Carol Birch, Howick, KZN)
- We went a totally different way. We got the pork belly and patted it dry. We then mixed Heinz mayonnaise and mustard and added some salt and pepper. We also cut up an onion into fairly thick slices. We placed these in the pan as a foundation for the pork belly to cook on. We slathered the pork meat where visible with this mix all over and then placed it on the onions. We then lightly salted the pork crackling with garlic salt and started cooking it at about 200℃. While it was cooking, we constantly added new mayo and mustard mix to the meat so it didn’t dry out, and cooked it like this for an hour for every kilo of pork belly. Towards the end, we added a little more garlic salt. We then turned off the oven and put it on grill until the crackling popped. It was yummy. (Clinton Thorogood) DM/TGIFood
Contact Tony Jackman at [email protected] if you have your own tips for attaining perfect pork crackling.


 Become an Insider
Thank you Tony. I had the same quest, so I enjoy this ride. I finally succeeded with a brilliant tender yet very crispy crackling. I followed a Chinese recipe by Chef John (you’ll find a video on YouTube).
This is what was different:
Place meat side down onto foil, leaving the skin clean and exposed on the top.
Pat skin side dry. Brush evenly with white vinegar!
Sprinkle with a little sea salt; spread evenly by hand.
Fold the edges of the foil upward to form a tight bowl around the meat; fold the resulting corners around to retain the bowl’s shape while cooking.
Place in pre-heated oven at 170 to 180 C, for up to an hour
Remove from oven
Brush with oil!
Return to oven, at 240 C, for 20 or 30 minutes
It was succulent and perfect.
I’d love to know if you tried it!
I recommend Kylie Kwong’s method. Her recipe pours boiling water over the scored rind. Pat dry and refrigerate open overnight before salting . This method ‘opens’ up the scored rind and allows liquid to drain off and salt to penetrate. From her amazing Chinese cookbook ‘Simple Chinese Cooking’