


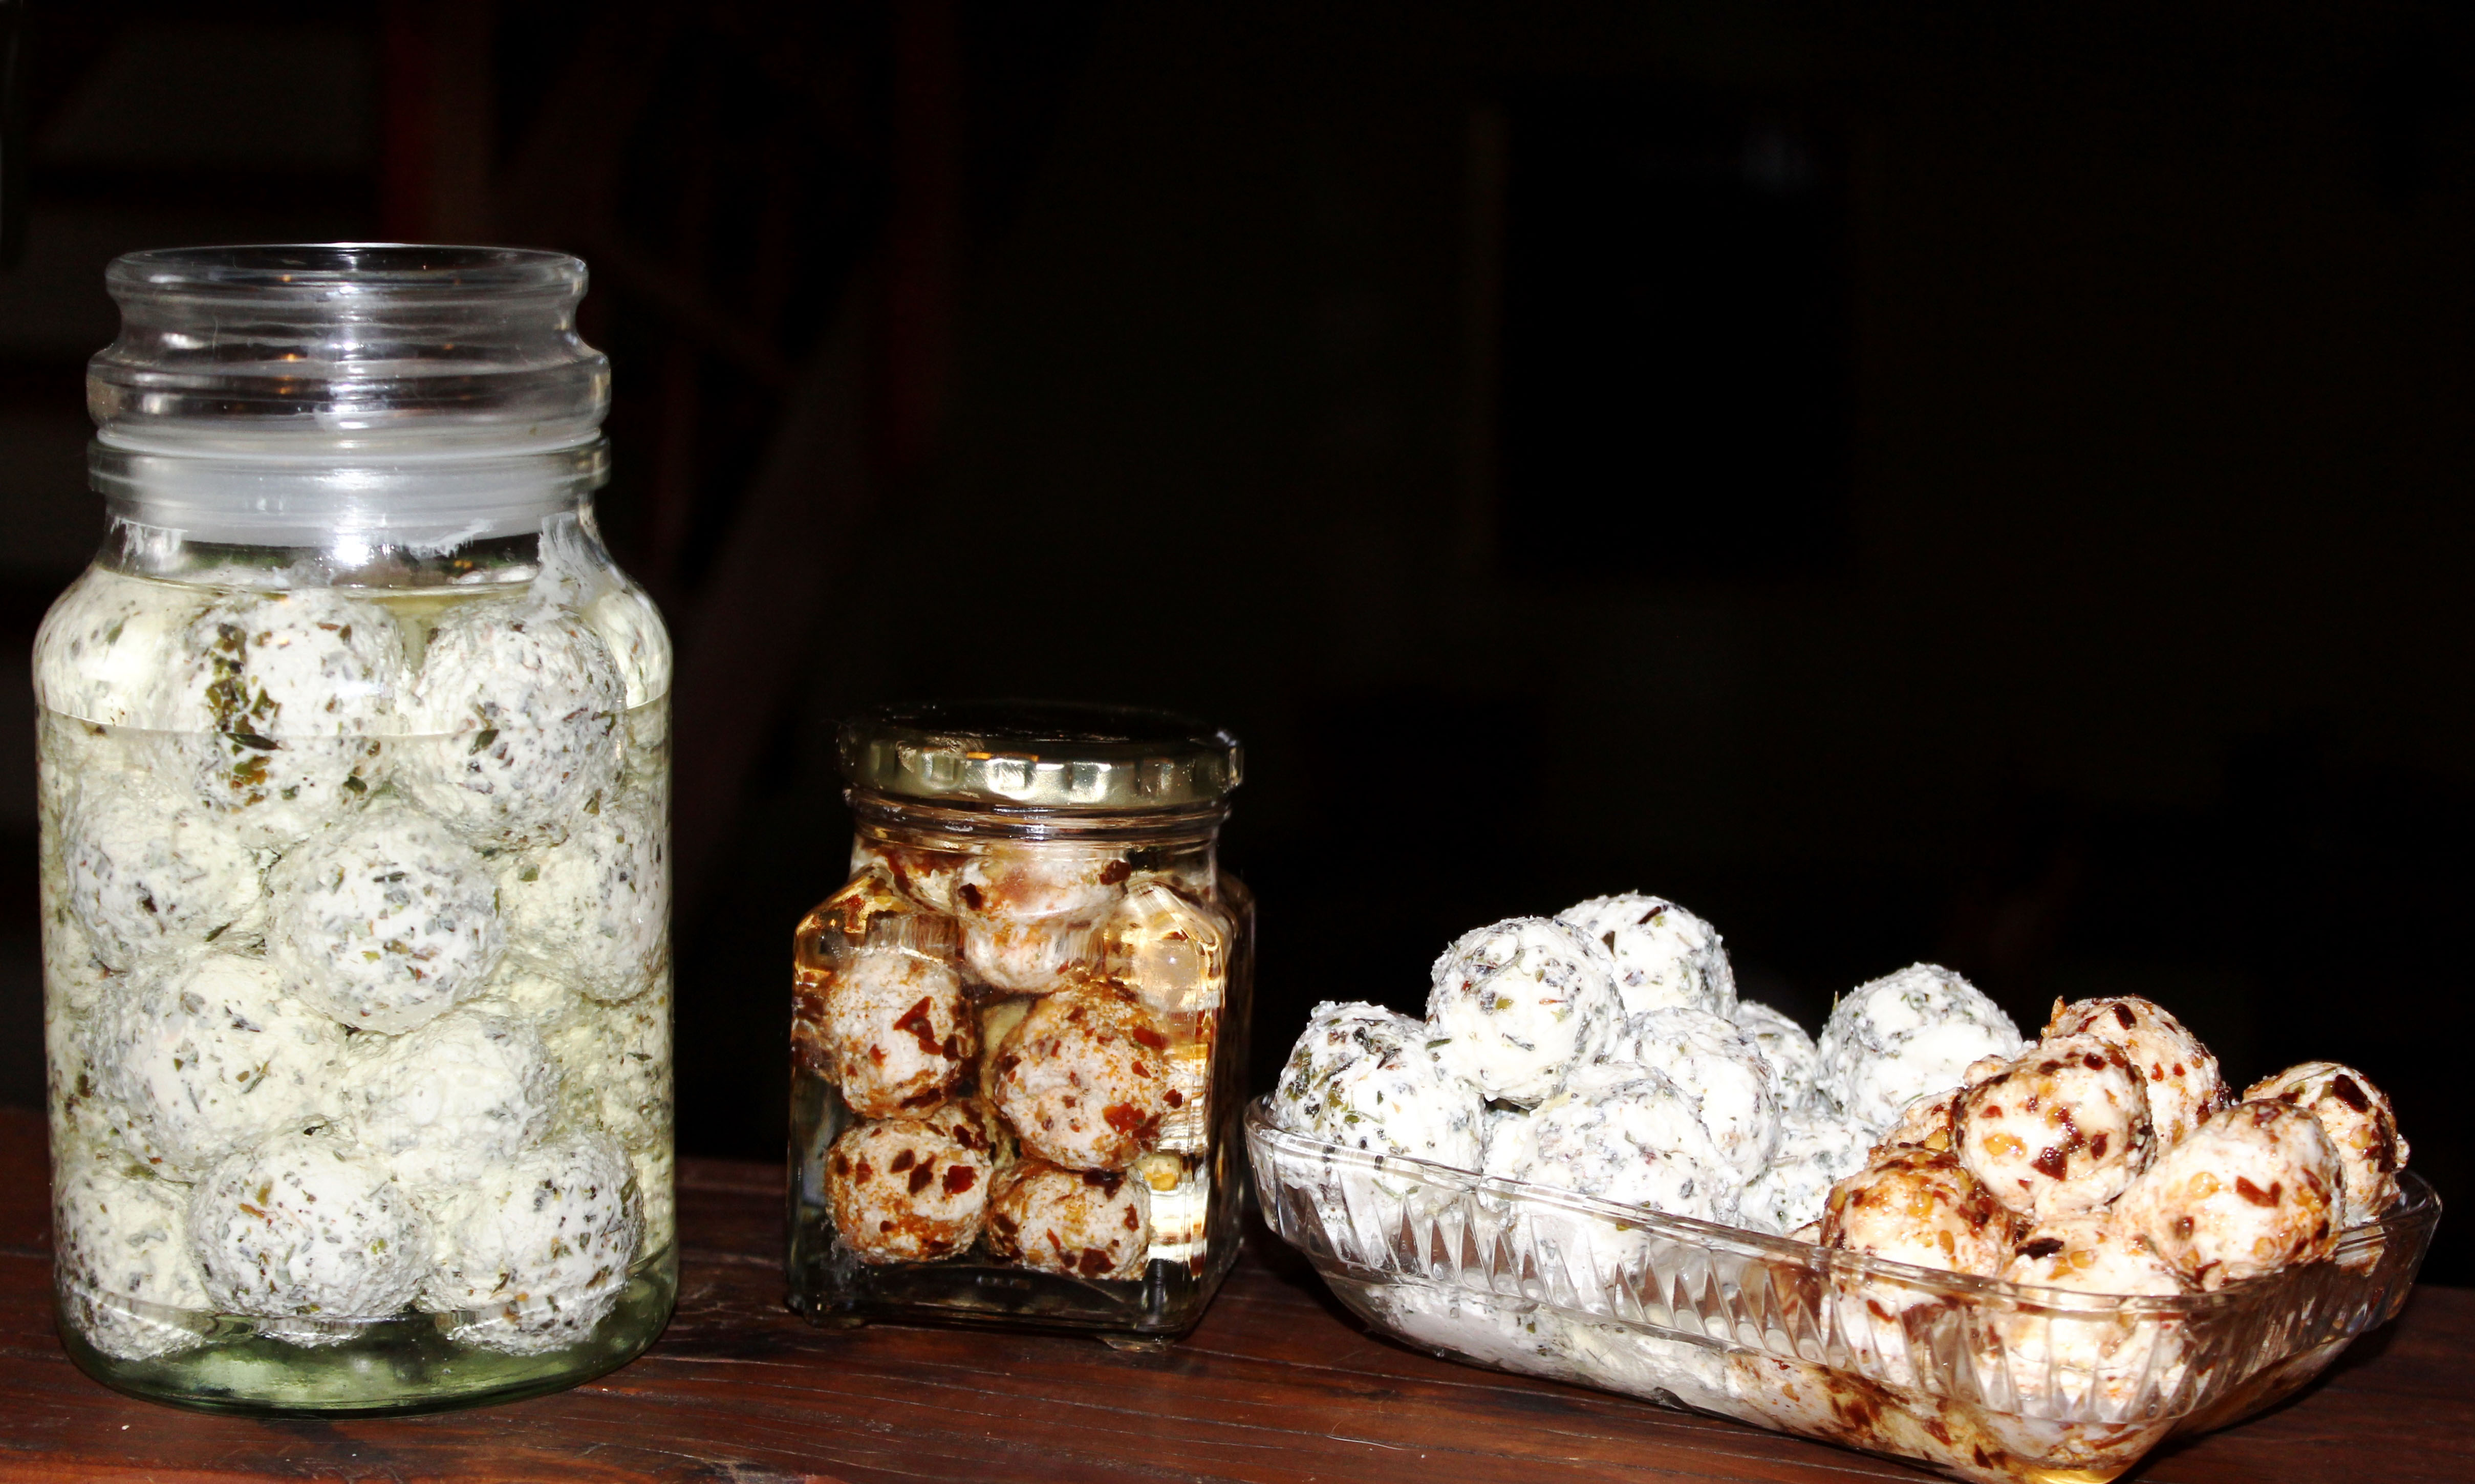
 Herbed and spiced Labneh balls. (Photo: Andrew Newby)
 Think of the word “cheese” and you could come up with any of the following: Red Leicester, Tilsit, Caerphilly, Bel Paese, Red Windsor, Stilton, Emmental, Gruyère, Norwegian Jarlsberg... and quite possibly the other 34 as well.
Yes, these are only some of the cheeses listed in Monty Python’s evergreen “National Cheese Emporium” skit that featured John Cleese as the verbose turophile and Michael Palin as an insouciant cheese monger who eventually reveals that he actually has no cheese in stock, so is promptly shot.
For any cheese lover the list might represent the contents of Nirvana’s Larder. They’re mostly complicated cheeses with venerable traditions behind them. Moreover, many are acquired tastes and almost all are quite difficult to make.
However, the purpose of this article is to show that it’s quite possible to make some really simple cheeses in your kitchen with equipment that you probably already have and ingredients that are readily available in most supermarkets.
After dried meat and grains, cheese is probably the oldest preserved food known to humankind. Legend has it that cheese was “discovered” when a pastoralist who was carrying milk in a bag fashioned from the intestines of a herbivore found that his milk had separated into solid curds and liquid whey. He soon realised that he had a delicious meal in his milk bag, and so began the story of cheese. It’s a good story and may or may not be true. But whatever the origins of cheese, we know that it’s been around for a long time. Possibly for as long as 6,000 years.
For millennia the making of yoghurt, cheese and fermented milk has been the go-to way of storing milk.
Very simply, cheese is made by separating the solid component of milk from the liquid part, and then processing the result in various ways. Different techniques evolved in different parts of the world because of such variables as type of milk, climate, and availability of local resources as well as the culinary traditions of the societies involved.
But before we start with these easy-to-make cheeses, let’s have a closer look at this marvellous commodity called milk – because that’s where every cheesemaker has to begin. Small wonder that milk occupies such a prominent position in human mythology: think “mother’s milk”, “milk of human kindness”, “land of milk and honey” etc., because it is literally the substance that nourishes mammalian life from its very beginnings.
A breakdown discloses that there’s lots of water in the mix – 87% is about the average hydrous content of ordinary cow’s milk. The remaining 13% makes up the solids, most of which end up as your cheese. A look at these solids point approximately to a 4% fat content, 2.6% casein (protein) content, a 4.8% lactose or milk sugar content, around 0.8% minerals and another 0.8% other fairly insignificant stuff.
When the cheesemaker separates the solids from the liquids, the result is curds and whey. The curds are what end up as cheese and the whey is cast off for various secondary uses; to be gratefully received by pets and other animals, made into smoothie shakes and freeze-dried into body-builder supplements. Incidentally, whey does contain a relatively small protein component which can be further garnered to make ricotta. But that’s a story for another occasion.
Possibly one of the least understood aspects of milk is that it comes with its own portfolio of bacteria.
Hang on – bacteria? In cheese? That doesn’t sound like something that I want to eat.
Well, yes, bacteria might be bad, but they can also be good. Now this is important, so pay attention: Milk has “good bacteria” and “bad bacteria” and the job of the cheesemaker is to encourage the “good bacteria” (for example, lactic acid bacteria) to prevail and the “bad bacteria” to perish in the process.
The diversity and character of the cheeses of traditional European cheesemakers reflect a complete understanding of this phenomenon as they have shaped and crafted their products through the centuries to produce the Camemberts, Manchegos, Limburgers and Gorgonzolas that we associate with Old World cheeses. Capitalising on the ability of “good” lactic acid bacteria to transform the milk’s lactose into more acidic enzyme lactase, cheesemakers go on to use this subsequently “ripened milk” as the basic stock to craft their cheeses. Variables such as time, temperature, humidity, pressure and the options of further microorganism introductions result in the bewildering array of world cheeses that are as widely varied in taste and texture as Romanas are to Roqueforts.
Artisan cheesemakers often like to use raw milk, as opposed to pasteurised, with its accompanying smörgåsbord of bacteria to make their cheeses – usually in an attempt to emulate techniques of the traditional Old World cheesemakers. It is significant to note that the enforced requirement of pasteurising milk by health compliance authorities (local, such as municipal regulations or international, such as EU requirements) has resulted in a swing towards pasteurising milk to make cheese.
For effective pasteurisation, milk can be heated up to 63℃ for 30 minutes, then cooled rapidly. But this method isn’t very common in the mass dairy distribution sector. More widespread is the High-Temperature Short-Time (HTST) pasteurisation or rapid pasteurisation method of heating milk to 72°C for at least for 15 seconds, then cooling quickly.
Whatever the heating process, it effectively “wipes” milk clean of ALL bacteria – both “good” and “bad” – vastly reducing the dangers posed by nasties such as E. coli, Listeria, Salmonella, and Brucella. Furthermore, some cheesemakers claim that they prefer to begin with pasteurised milk, as a tabula rasa so to speak, because it gives them greater control of the process. In such cases a selected commercially available “starter” (i.e. a laboratory bacteria developed to inoculate milk to deliver consistently predictable outcomes) is introduced to the bacteria-free milk. Usually in freeze-dried form resembling baker’s yeast, the starter is stirred into the milk at around 30℃ before the addition of rennet.
But, lament the purists, pasteurising removes many of the layered complexities so characteristic of traditional cheese types, so many of them vehemently oppose pasteurisation. Also pasteurisation inhibits milk's ability to coagulate in the curds-and-whey separation process, requiring the addition of the chemical calcium chloride to compensate.
Pukka Camembert is a good example. To bear the label “Camembert de Normandie", the cheese is required by French law to not only originate from the Camembert district of Normandy, but also to be made exclusively with unpasteurised cow's milk. This makes it an illegal foodstuff in the United States where raw milk is regarded in some states with the same jaundiced eye as cocaine.
On a personal note, as we have our own cows, goats and sheep, I have access to fresh raw milk. And, being able to control its quality from udder to vat, my cheeses are made with unpasteurised milk.
But enough of all of this technical stuff. This article’s all about how easy it is to make your own cheese in your own kitchen. So let’s begin with the easiest and one of the most consumed cheeses in the world. It’s called paneer and it comes from India.
India, the land of curries and spices. But India is also the nation that hosts the largest population of vegetarians in the world. In fact, 38% of India’s estimated 1.38 billion people are vegetarian, mostly because of the country’s prevailing Hindu faith which advocates against eating flesh.
So despite its non-reputation as a great cheese nation, India gets the prize for being one of the world’s biggest cheese consumers. Because with all of those vegetarians seeking protein (apart from pulses), a lot of paneer is produced and consumed: from huge factory operations pressing out tons of paneer daily, to millions of humble kitchens in thousands of villages across the sub-continent preparing for the evening meal.
Like pasta and tofu, paneer is more of a flavour vehicle than a stand-alone item. But with Indian cuisine’s essentially spicy and aromatic characteristics, the curd combines perfectly to contribute to a bewildering variety of superb yet unpretentious vegetarian meals. It emerges on the Indian dinner table variously as a fiery tikka, the foundation of a subtle curry or even as a sweetmeat paired with honey and fruit. Remember that it’s also extremely nutritious, crammed with protein and a valuable calcium source. I’m offering an extremely simple way of making it as well as a recipe where it features in one of the most consumed dishes in all India.
Paneer
/file/dailymaverick/wp-content/uploads/Fresh-Paneer-cut-into-cubes..jpg "Fresh Paneer cut into cubes. (Photo: Andrew Newby)")
Ingredients
2 litres whole milk. Pasteurised or unpasteurised – it doesn’t matter because if you have any worries about malevolent micro-organisms, the initial heating process is way above health compliance pasteurisation temperatures. UHT or long-life milk does not work.
1-2 cups white vinegar. A 50:50 mix of apple cider and white vinegar also works well.
Other materials required
Cheesecloth. If no real cheesecloth is available use any loose-weave textile that does not shed lint. My best cheesecloth is made from a synthetic textile, repurposed from an old doctor’s waiting-room door curtain.
Colander. Stainless steel or plastic are best.
Method
Heat the milk in a large stainless steel pot and bring it to just under boil over medium-low flame, stirring gently from time to time. Do not allow it to burn or over boil.
Shortly before the milk comes to the boil, pour in the vinegar. Stir and look for curdling. If it does not curdle, add small quantities of vinegar until it does. Once it has curdled, leave for 10 minutes.
Line a spotlessly clean colander with a sterile cheesecloth and place over a bucket (if you wish to retain the whey) or in the sink.
Strain the milk curds through the cheesecloth. Rinse the curds lightly under cold water to wash out the vinegar.
Gather up the corners of the cloth; twist the cloth so that the soft cheese is in the shape of a ball. Squeeze out the excess liquid.
Shape the cheese into a disc. Sandwich the wrapped cheese between two large dinner plates and press down on top of the upper plate with something that weighs about 1.5-2kg. A plastic bottle filled with around two litres of water works well. Press for about two hours in a cool place.
Unwrap the disc of paneer and refrigerate. Once chilled, the Paneer is ready for cooking. It can be cut up into cubes and used right away or kept in an airtight container in the fridge for up to a week. It can also be frozen for several months.
Paneer Saag
/file/dailymaverick/wp-content/uploads/Paneer-in-its-marinade-for-Paneer-saag.jpg "Paneer in its marinade for paneer saag. (Photo: Andrew Newby)")
Ingredients
1 tsp turmeric
1 tsp red chilli powder
2 or 3 green chillies, chopped fine
2 tsp salt (or more to taste)
3 tablespoons plus 1 ½ tablespoons sunflower or canola oil
500g paneer, cut into 2.5 cm cubes
1 large bowl well-rinsed chopped greens: use any of spinach, kale, chard, pumpkin or mustard leaves, or a combination of what you've got. I used maroga and cabbage the last time I made it and it was excellent.
1 large onion, fine chopped
3 heaped tsp ginger/garlic minced
1 tsp garam masala
2 teaspoons ground coriander (dhania)
1 teaspoon ground cumin (jeera)
½ cup plain yoghurt, stirred until smooth
Method
In a large bowl, whisk together the turmeric, chilli powder, 1 teaspoon salt and 3 tablespoons oil. Drop in the paneer cubes and toss carefully. Marinate for at least two hours.
Place a large non-stick frying pan over a medium-low flame and add the paneer as the pan warms. Toss carefully. At least one side of the paneer cube should eventually be seared light brown. Fry for a few more minutes then remove the paneer and set aside.
Add the remaining oil to the pan. Add the onions, ginger/garlic and chillies. Ensure that this mixture is sautéed until evenly toffee-coloured, and at the same time, does not burn. Add the garam masala, coriander and cumin. If you haven’t done so already, sprinkle a little water to keep the spices from burning. Cook for another three to five minutes, stirring frequently. Add the greens, stirring and incorporating them thoroughly into the spiced onion mixture.
Add salt to taste and ½ cup of water, stir and cook for a further 10 minutes with the lid on.
Add the yoghurt, a little at a time. Once the yoghurt is well mixed into the spinach, add the paneer. Cook covered until everything is warmed through.
***
Okay, that’s the easiest cheese in the world to make and it can result in some fine culinary masterpieces. Notice that vinegar was used to coagulate the milk, and not rennet. And there was no culture used to “ripen” the milk. So now let’s try another easy-to-make cheese that involves a culture, but doesn’t require the schlep of trying to procure rennet. It’s a really old cheese that’s been around for thousands of years and it’s called labneh.
Labneh is classified as a “yoghurt cheese” and to this day remains one of the most popular cheeses eaten on the eastern side of the Mediterranean in places like Cyprus, Lebanon, and Israel as well as generally all over the Middle East. It’s easy to get your hands on what you need to make it and you don’t need fancy equipment. But don’t expect labneh in a day – plan on waiting three or four days if you want to shape nice firm balls. The nice thing about labneh is that if you preserve them in oil in the fridge, they last a long time. But I’ve found that their longevity is actually of little consequence... because they fly out of the fridge so quickly that very soon there’s nothing left except the oil in the bottle. And that makes for a delicious salad dressing.
Eat them on their own, on crackers, in salads, stuffed into grilled peppers or included in pita bread fillings – labneh balls are extremely versatile and a boon to the cook who wants to put together something healthy and tasty in a hurry.
Labneh
/file/dailymaverick/wp-content/uploads/Labneh-balls-after-saltig-and-herbing-before-immersion-in-sunflower-oil..jpg "Labneh balls after saltig and herbing before immersion in sunflower oil. (Photo: Andrew Newby)")
Ingredients
5 litres whole milk. I get good results with unpasteurised goat milk.
About 200 ml plain whole milk live culture yoghurt. The last time I used Pick n Pay Double Cream Plain Yoghurt and it worked well.
2 tbsp kosher or sea salt. Anything un-iodised will do. I use Koisan Fine Sea Salt from Velddrif. Iodine kills off live bacteria, including the good bacteria.
Preferred herbs and/or spices to cover the balls eg dried mixed herbs, chilli flakes
Sunflower oil in which to store the balls
Whole fresh garlic cloves, rosemary sprigs or any other herb or spice
Other materials required:
Cheesecloth
Colander. Stainless or plastic are best.
Sterilised glass bottles for storage.
Instructions
Pour the milk into a large heavy-bottomed pot and heat on medium until it comes to just under a low boil. Be sure to stir to ensure that the milk doesn’t stick or burn.
Remove the milk from heat before it boils up and let cool down to about 40ºC. If you don’t have a thermometer, this temperature is uncomfortable to immerse your hand in for more than five seconds or so.
Once the milk has cooled down (placing it in a cold water bath in the sink cools it faster) pour your yogurt starter in a small bowl and ladle a small amount of warm milk into the bowl to stir well. Pour this into the larger pot with the milk and stir.
Cover and wrap the pot with a large blanket to insulate it and keep it in a warm place for at least 10 hours. You should be aiming for around 25ºC.
After 10 hours, remove the blanket and place the pot in the refrigerator for another 10 hours. By now you should have a creamy yoghurt that has thickened significantly.
Pour the yoghurt into a cheesecloth-lined colander which has been placed in a large bowl or over a bucket.
Leave in the refrigerator to drain for 2-4 days, depending on your thickness preference. The longer you let it drain, the thicker the mix will be. For labneh balls you need a thick consistency. Remember that during all of this time, the yoghurt bacteria culture works to enhance the flavour.
Leave the finished labneh in the fridge for several hours before you go on to make balls. When you are ready, sterilise your glass jars, have the sunflower oil ready. Sprinkle your choice of herbs/spices on a baking tray. One ball is roughly a teaspoonful of labneh. Shape into a ball in the palms of your hands and roll in the herbs. I use surgical nitrile gloves for this stage. When covered, pop the ball into a glass jar that is already half full of oil as well as the garlic clove or rosemary sprig if you’ve decided to infuse the oil. Repeat until the oil just covers the last one. Top up if necessary. Refrigerated, they keep like this for a long time.
You can opt for olive oil instead of sunflower, but the problem with this is that apart from the cost, it solidifies in the chilled environment of the fridge and makes things difficult. Good quality sunflower oil works well and can itself be infused with: garlic cloves, peppercorns, lemon peel, rosemary sprigs, dried whole chillies. These can sit in the jar and are aesthetically pleasing.
Herbs and spices to consider include: Greek mixed herbs, ordinary dry mixed herbs, chilli flakes, origanum, fresh-chopped rosemary, thyme and sage, lemon pepper, crushed black peppercorns, cumin seeds bashed up a bit, crushed fennel seeds.
***
Now let’s move across the Atlantic and make a New World cheese. It’s very similar to paneer in that it’s a fresh curd cheese, is coagulated with vinegar instead of rennet and involves heating milk to just under boiling point. But it differs from paneer in that it’s salted (brined) and very often it’s herbed or spiced before it’s pressed into a form.
It’s called queso fresco and it’s from Mexico.
Queso fresco can be kept for up to 10 days and is an integral part of Central American cooking. For example when we decide to make a burrito and toss in some Parmalat factory-made cheddar, folk from that part of the world might raise their eyebrows and say that a fresh, home-made cheese such as this one would be far more appropriate. It’s marvelous in all manner of wraps, tacos and enchiladas. I used dried sage to herb the last one that I made and it was delicious.
Queso Fresco
/file/dailymaverick/wp-content/uploads/Queso-Fresco-ready-to-be-served..jpg "Queso Fresco ready to be served. (Photo: Andrew Newby)")
Ingredients
2 litres whole milk
⅔ cup vinegar white,
1Tbsp apple cider vinegar
1 ½ tsp salt
2 tsp dried herbs and/or spices of choice
Method
On medium-low heat bring milk to about 80℃ or just short of boiling-over, stirring regularly to avoid uneven heating. Do not allow the milk to burn.
When the milk reaches the desired temperature, remove from heat and add the vinegar types. Stir a couple of times, then allow it to sit for 30-45 minutes.
Pour the milk carefully into a clean cheesecloth-lined smallish plastic colander that drains into a large bowl or sink..
Allow the curds to sit untouched for about 30 minutes so they can drain properly. Add salt, herbs and/or spices and stir lightly but thoroughly.
Next, ensure that the cheesecloth folds over to cover the top of the curd in the colander and place a small side plate or saucer to cover most of the surface area.
Place a weight of about 1.5-2kg on the saucer (a 2-litre plastic Coke bottle filled with water does the trick) and leave to press in the colander in a cool place for at least two hours.
Remove the weight along with the plate and carefully unwrap the queso fresco. It should have molded into a dome-shaped cheese which can be refrigerated for up to 10 days.
***
Now we come to our final cheese. It’s an old cheese. One that goes back a really long way and has its origins in the very beginnings of the story of cheese. It’s the cheese of the Ancient Greek Philosophers and is today one of the most popular cheeses in that grouping that some people call “The International Cheeses”. We already know that India consumes vast quantities of curd – but per capita the Greeks are not far behind. Anyone who’s visited Greece will know that it’s a pretty dry, flinty sort of place with lots of stunted olive trees and a paucity of rolling meadows. Not exactly beef ranching territory. So while the Greeks have some fine meat dishes in their cuisine, it’s meat that’s scarce to come by and not consumed as frequently as in other countries. Like protein-hungry Indians, the Greeks make up for their smaller and more infrequent meat portions by including more solid dairy items in their diet. That’s why they eat so much feta.
Just about everyone I know likes feta. Even some vegan friends who say that they know that they shouldn’t, but occasionally just can’t resist a nibble. In Greece it traditionally comes from sheep or goats, but internationally it’s being made increasingly with cow milk. I make feta regularly with 100% goat milk but some of my best results have been with a 50:50 mix of Jersey cow and Saanen goat milk.
I’m not going to proffer suggestions as to how feta can brighten up a meal or add some panache to a picnic basket, because you probably already know. Suffice to say that if you’re serving up a Greek salad, the feta chunks have usually vanished long before the olives.
I must now confess that I’ve been a tad deceitful because I’ve sort of inferred that you can make all of these cheeses with stuff that you’ve got in your kitchen. But I’ve got to admit that it’s unlikely that you’ve got a 100ml bottle of rennet in your kitchen cupboard. Sorry.
So to make feta you are going to have to invest in some rennet, and if pasteurised milk is all that you can get, a small bottle of calcium chloride will have to be added to the shopping list. But be of good cheer: neither these things are high-cost items; they last forever in the fridge and once you’ve got them, they open the door to a whole host of other relatively simple cheese kitchen adventures. Rennet and calcium chloride are readily available from online cheese equipment suppliers and I have included the details of the best ones at the end.
Feta falls into the category of brined cheeses so that’s why it keeps so well in the fridge. Salt is a great preserver and as long as you keep it cool and covered with brine in its container, it will last for months. That doesn’t mean that you have to wait long after making it before eating it. Three or four days after a light pressing and it’s usually ready to go.
Here’s my recipe for feta using buttermilk as the starter culture.
Feta
/file/dailymaverick/wp-content/uploads/Feta.jpg "Feta with olives, always a good match. (Photo: Andrew Newby)")
Equipment that you will need:
An accurate thermometer. What household doesn't have a thermometer of some sort lying around in these Covid-19 times?
A stock pot that can accommodate at least eight litres plus a larger pot that can accommodate the first pot to create a water bath or bain-marie setup.
Muslin cloth or cheesecloth
Draining tray. Cake racks, wire racks and sushi mats can all be adapted as draining trays
Long stainless steel spoon to stir with
Long knife or blade to cut the curd
IMPORTANT: All equipment, including the cheesecloth, should be sterilised before making the cheese. This is best done by boiling water in the largest pot and sterilising the equipment in the hot water.
Ingredients
8-10 litres milk. Try to use unpasteurised raw milk. Goat’s milk is best, but cow’s milk is okay. You can use pasteurised store-bought cow’s milk, but then add half a teaspoon of liquid calcium chloride first. By doing so you are compensating for the chemical change that took place in the milk during the heating pasteurisation process.
1 cup of plain buttermilk from a previously unopened container, as fresh as possible. The buttermilk serves as a culture.
⅓ tsp rennet. You can use animal rennet or if you want 100% vegetarian cheese purchase a small bottle of vegetarian microbial rennet from cheese equipment suppliers. This is made from a type of fungus. Kept in the fridge it will last a long time.
Non-iodised salt. This also takes the form of kosher salt, canning salt or pure sea salt.
White spirit vinegar
Pure non-chlorinated water e.g. bottled spring water.
½ tsp calcium chloride
Method
If you are using pasteurised milk, add the calcium chloride. Warm the milk slowly to 32℃ . For this a double-boiler or Baine-Marie pot-within-a-pot system is best. You can heat this on a stove-top. It can also be done by immersing the milk pot in a kitchen sink of hot water.
Stir in the cup of buttermilk thoroughly at 32℃.
Leave to ripen for 1 hour at 32℃. Inoculation is taking place and the “good bacteria” are taking over.
Add the rennet diluted in ¼ cup unchlorinated water (I use bottled spring water) slowly and stir for a minute with an up-and-down movement of the spoon.
Allow to sit for one hour to coagulate and set with the temperature hovering around 32℃ If you are warming using the Bain-Marie method, the thermal mass of all of that combined liquid should stay at a fairly stable temperature. Test the readiness of the curd by gently pushing a finger into it (hands should be clean at all times and have a vinegar spray bottle ready to spray hands if the curd is to be handled). If there is a “clean break” of the surface of the curd, then it is ready to be cut.
Carefully cut the curd into 1cm cubes with a long knife. First make cuts 1cm apart in one direction, then cut at right angles to create a cross-hatched pattern. Finally make a series of cuts at 45 degrees to the surface so that the curd is cut up into roughly 1 cm blocks.
Leave to rest for 10 minutes. This is called “healing”.
Very slowly reheat the curds up to 38℃ over 30 minutes.
During this time stir regularly to prevent the curds from matting and to “scald” or “cook” them all. It is a good idea to do this gentle stirring with your hand and fingers (I wear a nitrile glove for this). In this way you can avoid fragmenting the curd chunks and at the same time feel the thm taking a firmer form.
Leave to rest again for 10 minutes
Ladle all the curd out into a sterilised cheesecloth-lined colander. Fold the sides of the cheese cloth over the curd in the colander to cover it.
Allow to drain in the colander through the cheese cloth. After 30 minutes, gently turn the entire parcel of cheesecloth and curd over so that it continues draining through the colander for a further 30 minutes.
By now you should have a round disc-shaped curd wrapped in cheesecloth lying in a colander. Find a smallish side plate or even a large saucer that covers the disc, but does not make contact with the sides of the colander. Place it on top of the curd. On top of the plate or saucer place a vessel such as a jar or bottle containing approximately 2 litres of water. You are now pressing the curd with the saucer/plate acting as the follower and the water as a 2kg weight.
Press for about two hours, then turn the curd over and press for another two hours. Remove the weight and leave the curd in the colander overnight or for at least six hours.
Unwrap the curd and remove the cheese cloth. Surface salt both sides with non-iodised salt, (about one and a half teaspoons on each side). Leave to stand in a cool, but not refrigerated space on a rack or draining board for two days. Turn and add a few pinches of salt every 12 hours or so. The cheese will dry out as whey comes to the surface. It is now going through an important ripening process. Make sure that it is covered with a fly net to keep flies away during this time.
After two days, cut the cheese into cubes. Place in a container and cover the top of the cheese with 10 percent brine made from non-iodised salt. Also add a little white vinegar to the mixture – it should be a weak acidic solution because if the holding liquid is not sufficiently acidic, the Feta tends to become soft and slimy (pH of 4.4 is perfect). Leave in a cool place in the container to age for a further three to four days. If temperatures in your home are too warm, you can move the container to the fridge.
Thereafter store in the fridge. Feta can last a long time if sufficiently brined, kept at cool enough temperatures and is not exposed to air.
So there you are – a handful of easy-to-make cheeses and you’re well on your way to exploring the wonderful world of artisan cheesemaking. Even if you only make one of these cheeses, you should take away with you a greater understanding of the important role that milk has played in various cuisines and how it has shaped our lives through the ages. DM/TGIFood
Cheese equipment online suppliers:
Finest Kind, Plettenberg Bay. www.finestkind.co.za
BeerLab (also doubles as CheeseLab), Cape Town. www.beerlab.co.za
Leon the Milkman, Cape Town. www.leonthemilkman.com
Crafty Cultures, Pretoria. www.craftycultures.co.za